Monday, 30 June 2014

storage for sunglasses...and more

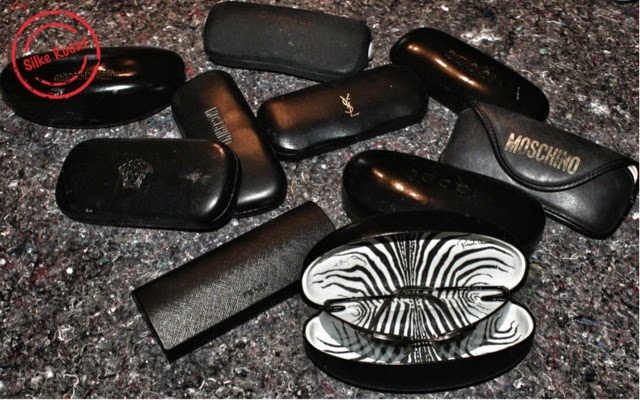
sunglasses...one of things you might have one or two of, or even more...especially if you have reached a certain age you can't get rid of the stuff you like.

i used to keep them in a drawer...so far so good...but usually i grap the top ones first and forget about the sunglasses in the very back end of the drawer...what a shame.

...another storage idea had to be found where i can see and reach all my sunnies...and surprisingly it was found in a...yes...hardware store.

slip drain couplers are the solution...they do come in a various sizes and colours and luckily as well in grey...that means...nothing much that i had to do with them...no painting, no decopatching, no gluing...just attaching...ohhh i like that...sometimes.


this is what you need


- six pvc slip drain coupling

- two spring clamps

- one leather belt


this is what you have to do


- place your first coupling on an even surface


- attach a second coupling to the first one using a spring clamp


- use a third coupling and the second clamp to create the base of the pyramid


- stack two more couplings on top of the base, no need securing those with another clamp


- finally place the last coupler on the top of the second coupler row 


 - place the coupling pyramid onto the leather belt


- wrap the belt around the pyramid


-fasten the belt


- secure the belt as tight as possible


- carefully remove the clamps


- if you feel the construction isn't secure, you can either glue or screw the couplers together


you can easily hang the storage pyramid onto your wall.


the inspiration for the pipe and belt storage i got from here


i hope you enjoyed the tutorial...best regards, silke


Wednesday, 25 June 2014

brass washer necklace

another visit to the hardware store...and this is what i got.
...an inspiration for another necklace.

i was pretty much sure, that i would go for some washers and was very delighted to see that brass washers exist, too...yes...this is what i wanted...and they do have matching chains...yes.

...back home, i spread all my new treasures out and started thinking and thinking and thinking.

and...this is what i got...a layered brass necklace with a washer decorated wooden flower as a base for an attachable brooch.


 this is what you need


- eleven brass washers, plus one extra washer

- six smaller washers

- 5m brass filigrane chain

- wooden base

- plain hairclip

- glue

- metallic paint

- brush

- pliers


this is what you have to do


- paint the wooden base, if required


- start adhering the washers to your base


- glue the hairpin onto the backside of the wooden flower


- get your pliers ready


- twist open the last ring of the chain


- cut the chain in six pieces of various lenghts


- attach the first ring of the first chain to one of the washers


- close the ring again


- repeat with the remaining five chains


- and attach the last rings of the six chains to the opposite side of the washers


- get your brooch ready


- attach your brooch onto the chains


- and here we go, your hardware store necklace is ready to wear


nice, isn't...???

hardware stores are well equipped with stuff, which is worth being repurposed into cool and stylish other things...i can't wait to go back there, to see what i could get next.

i hope you have enjoyed the brass washer tutorial and may get inspired yourself.

...best regards...silke

Thursday, 19 June 2014

aircrete and wooden board shelf

what can i say...i just don't like cabinets, closets and all other chunky furnitures...i just can't help it.

...i am in trouble...i have too much stuff and not enough storage room...so where to put all my treasures?

while looking for some alternatives in various furniture stores, i remembered a shelf construction i had in my first apartment more than twenty years ago...back then in black and white, matching my cool eighties interior.

a trip to my favourite hardware store and i was sure that i am going to be making another one matching my oriental influenced apartment.

...i "outsourced" some of my china ware and glasses and they look great on my new shelves.


sorry for the really bad pictures...they were taken in the middle of the night with my outdated iphone


this is what you need


- six aircrete blocks

- three wooden boards

- paint for the stones

- paint for the boards


this is what you have to do


- you simply have to choose your paint


- start painting your concrete blocks and wooden boards

- assemble your shelves, starting with two blocks on the floor and adding the first board

- then add two more blocks on top of the first board and continue with the last blocks, ending with the last board

- there is no drilling and no gluing neccessary 

- you can add up as many shelves as you like

- and than you just have to decorate your new shelf


that's all you have to...easy...isn't it...???

...thanks for stopping by...best regards...silke