in this case it actually both happened.
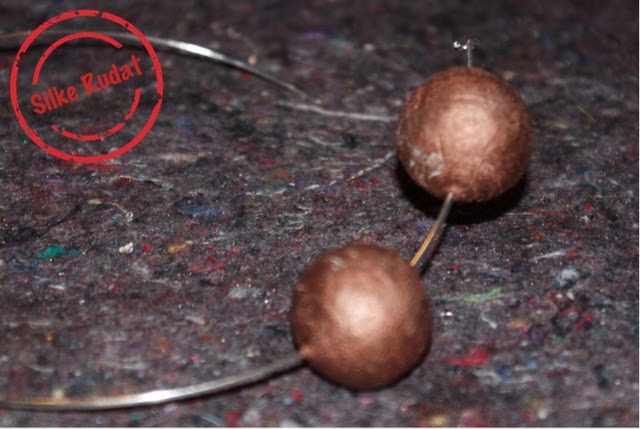
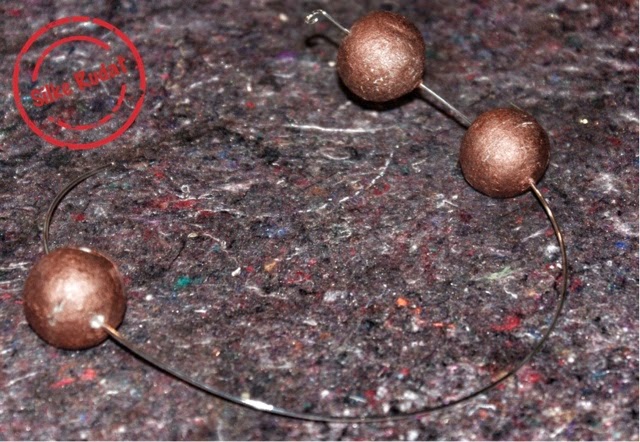
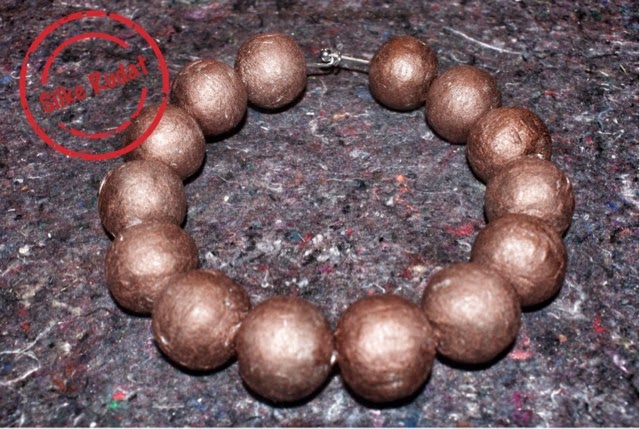
...a few years ago, i saw a beautiful fashion ad in a magazine, where the model wore a simple one-coloured shift dress with a matching necklace with really chunky balls.
how beautiful...i fell in love with the necklace and was looking for a similiar necklace and of course could not find anything even close to it.
...i never thought of making my own necklaces...i am ususally quite good in buying them...but it seemed like that i had no other option.
i found some chunky wooden balls and and some cotton wool balls..so far so good...but..what would i use to thread in the balls and how would i close the necklace...???
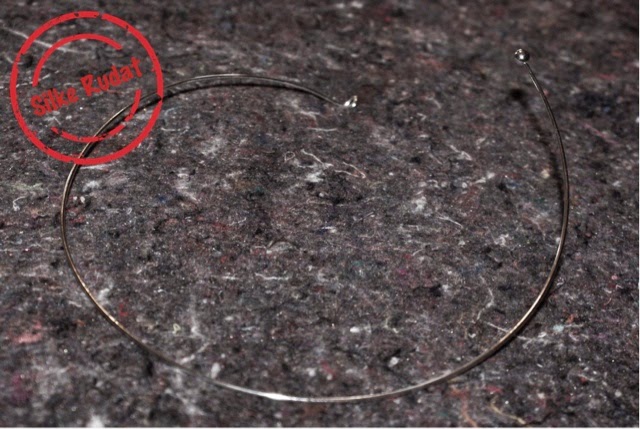
...in the jewellery-making section of a big craft shop i found the perfect answer...a two in one solution...a thin metall choker.
...in the jewellery-making section of a big craft shop i found the perfect answer...a two in one solution...a thin metall choker.
now i just had to go for the making of the necklace...but...how would i display the necklace...???
you see...the next project was on it's way...
i did some researches and none of the diy projects convinced me...i was looking for a three dimensional display, which is large enough to perfectly fit long necklaces, too.
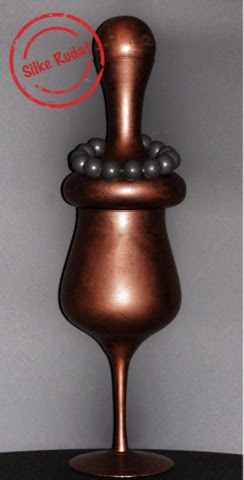
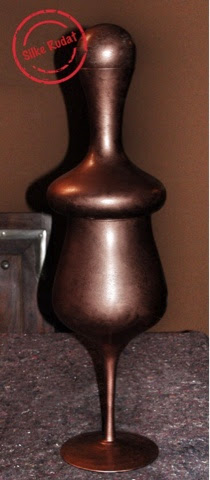
having two different kind of vases in mind, which could be stacked...i found excatly what i wanted in a dollar-store-like-shop...i also was looking for a glass or china ball to add on the top...so it wouldn't look that much like vases.
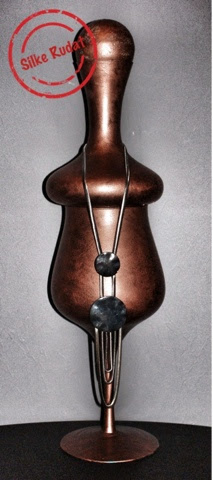
ooohhh i do love the idea and i do like the result...and i must admit, now having this stunning necklace display, i really consider to continue making some more necklaces.
this is what you need for the necklace display
- one large glass vase with a stand
- one large wide-bodied glass vase, which fits on top the other one
- one big glass ball, which fits on top the wide-bodies glass vase
- hot glue gun
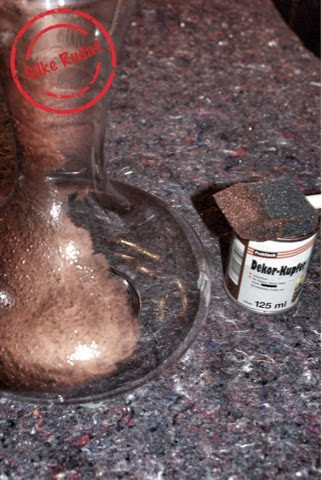
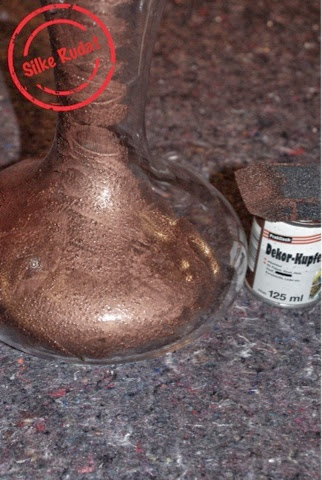
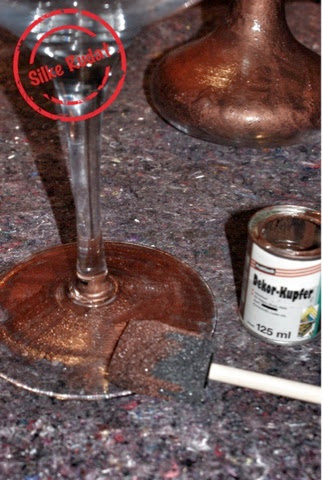
- copper paint
- sponge brush
this is what you have to do
- and finally apply paint to the glass ball, too
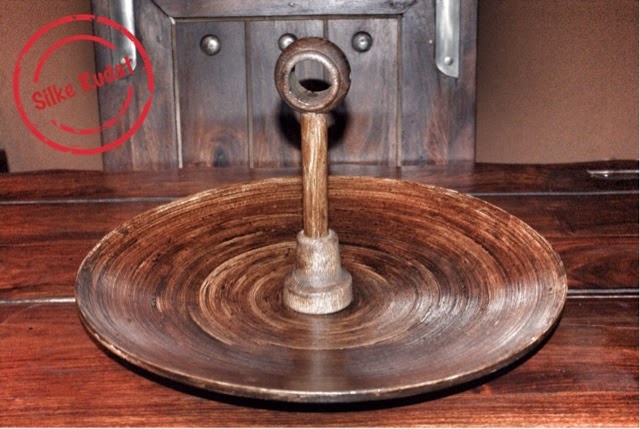
- after all pieces are dry, adhere them all togther...or you can do what actually happened to me...i could not wait for the vases to be completely dry and started to assemble them to see how it would look like....luckily it did look good, because i could not dismantle the whole thing anymore.
- in this case, i could skip the gluing part.
- even though it does not really show on the pictures, the necklace display is large enough for long necklaces.
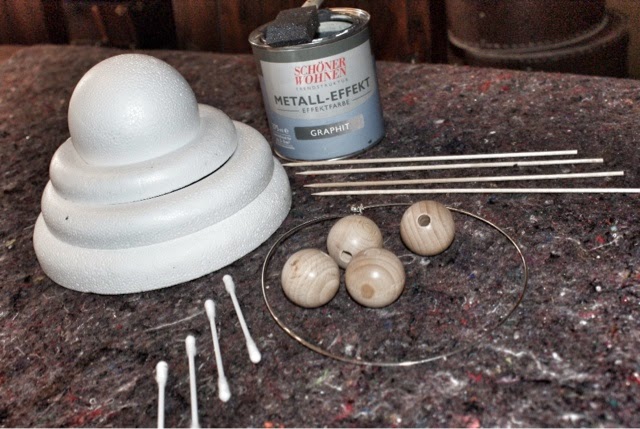
this is what you need for the chunky ball necklace
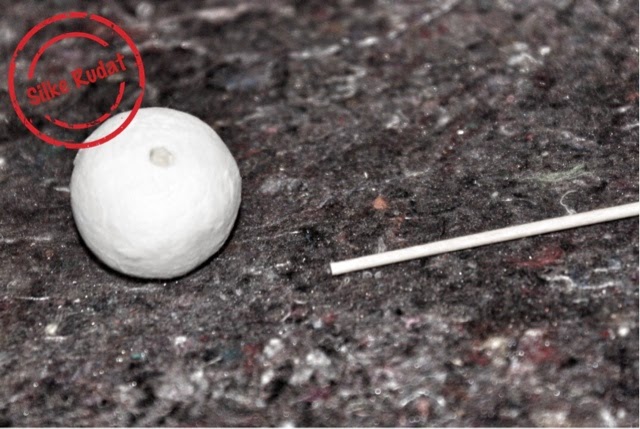
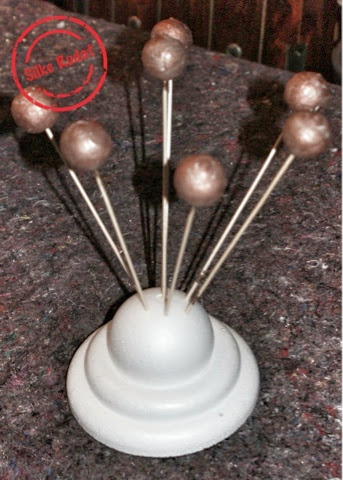
- 14 large cotton wool balls
- 1 thin metall choker with removable stopper
- paint
- sponge brush
- 14 skewers
- styrofoam block or anything similar
this is what you have to do
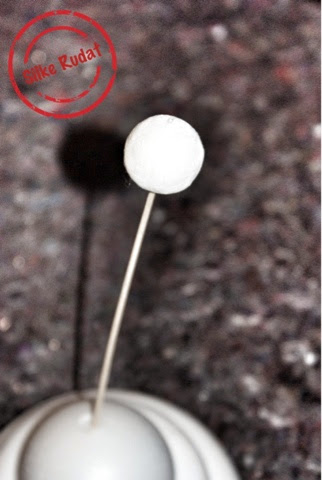
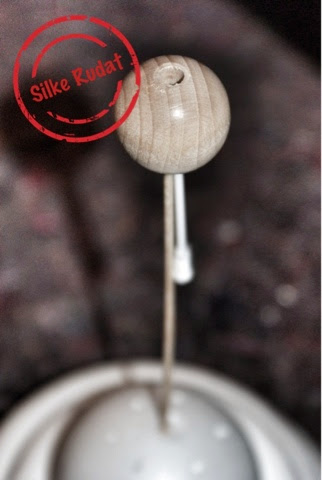
- start painting the entire ball..you can of course remove the skewer while painting and stick it back to the styrofoam for the drying process

