
gift wrapping and paper bags...what a fabulous combination.
to make your own paper bag is so easy and the ways to decorate it are just endless.
i fell in love with paper bags with window and the idea to frame it...and i would like to share my tutorials with you....i was a bit afraid to overload this post, and as you might have a better way to make your own paper bags or you might have paper bags on hand already, i do not want to bother you with my tutorial.
in case you are interested in how to make a simple paper bag from a simple sheet of paper or a simple envelope, you will find my tutorials here.
so this one will show you how to add a window to your paper bag and how to frame it.
as always i keep it very simple, using not that much and not that fancy and not that expensive material...a bit of repurposing and upcycling...i love it.
I hope you enjoy it.


this is what you need for the striped gift bag with the golden frame

- one paper bag
- one small clear plastic bag
- one small golden doilie
- golden ribbon
- paint
- brush
- glue stick
- hole puncher
- scissors
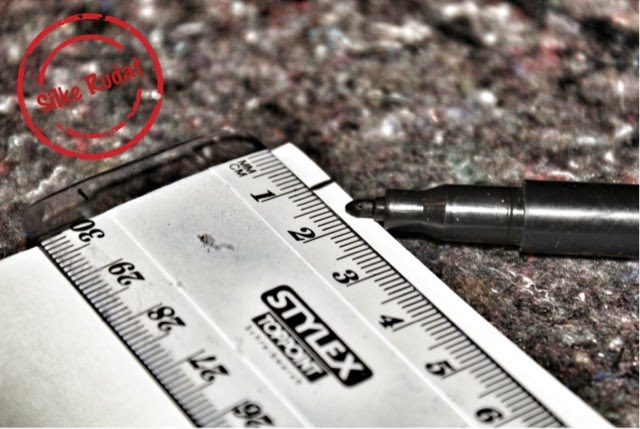
- ruler
- pen
- mark the desired gaps for your stripes

- draw the lines for the stripes

- paint the stripes

- your bag could look like this

- or even better

- draw an inner circle in the inside of the doilie


- cut out the inner circle to create the frame

- adhere the frame to the paper bag


- cut out the window


- get your clear plastic bag ready

- insert the platic bag


- punch a hole into the upper part of both bags

- punch a second hole

- cut two ribbon in the same size


- stick our first ribbon through the first holes

- make knot inside both bags to secure the ribbon

- stick the other end of the ribbon through the seond holes and secure it with a knot

- repeat with the other ribbon on the back side of the paper bag

this is what you need for the striped red coaster frame gift bag

- one paper bag
- one small paper coaster
- one small clear plastic bag
- red satin ribbon
- black tape
- hole puncher
- scissors

- stick the tape onto to the edge of the paper bag

- leave some excess

- adhere the excess tape onto the inner side of the paper bag

- it could look like this

- fold over a few centimeter of the top of the bag

- ,mark the frame of the paper coaster

- cut out the inner circle

- stick the frame onto the paper bag

- cut out the window

- insert the clear palstic bag

- pucnc h a hole through the folded top of the bag

- and another one

- cut a ribbon long enough to create a bow on the front side of the paper bag

- stick the satin ribbon through all holes and create a bow in the front
this is what you need for the stamped frame gift bags

- one paper bag
- piece of clear plastic wrap
- silicone stamp
- ink pad
- two fancy brads
- scissors
- glue stick

- unfold the paper bag

- get your stamp and your ink pad ready

- apply the ink to the frame stamp

- ensure that the entire stamp is covered with sufficient ink

- place the stamp onto the front side of the paper bag

- press the stamp firmly onto the paper

- remove the stamp from the paper carefully

- let the paint dry completely

- cut out the window


- cut the plastic slightly larger than the window

- apply glue to the edges of the plastic

- press the plastic window firmly onto the inner side of the frame

- fold the top of the paper bag backwards

- make a small hole into the fold, using your scissors

- make a second hole

- insert one brad into each hole

- fasten the brads in the back of the paper bag


- you can also use a large paper clip to close the paper bag
i hope you enjoyed the tutorial and the small selection of fancy paper bags.
my warmest regards...silke