Showing posts with label ...in love with advent calendar. Show all posts

Monday, 30 November 2015

flip-top jar and pallet advent calendar

sometimes it does not take much to create something beautiful and sonetimes you even have everything you need on hand.

i had a look at my pantry and found enough bottles and jar for an advent calendar and just got started.


 this is what you need


- 24 flip-top bottles and jars

- 24 hooks

- craft paper

- scissors

- 24 gift tags

- yarn

- decoration

- pallet


this is what you have to do


- get your craft paper, your bottles and jars, the craft paper and your scissors ready


- cut 24 pieces in the size of the inside of your bottles and jars


- insert the paper, to hide the content or to use them as coupons


- get your guft tags and your yarn ready, i was lucky to get some numbered gift tags including pre-cut yarn...you might need to number your tags and cut your yarn in 24 small pieces


- attach the yarn to each tag


- attach the tag to your jars and bottles


- hang the bottles and jars onto your pallet or anything else


- if you are using a pallet, you need to be careful, you might need to hang your bottles and jars onto both sides, otherwise he pallet my fall over.


- start decorating the pallet with matching light chains or christmas balls.


and that's it... another simple but yet beautiful advent calendar.

thank you very much for stopping by...best regards...silke


Friday, 29 November 2013

last minute gingerbread advent calendar

...if you still need an advent calendar...you do not have much time left...and i figured out after all these advent calendar crafting this year...the most time consuming part of a selfmade one, is the filling...twenty-four ideas...most probably twenty-four brilliant ideas...so, i guess you agree with me crafting is the fun part and the filling is really hard work.

so why not making one, which does not require any filling...smart, isn't it...???

baking an advent calendar seems to be the solution.

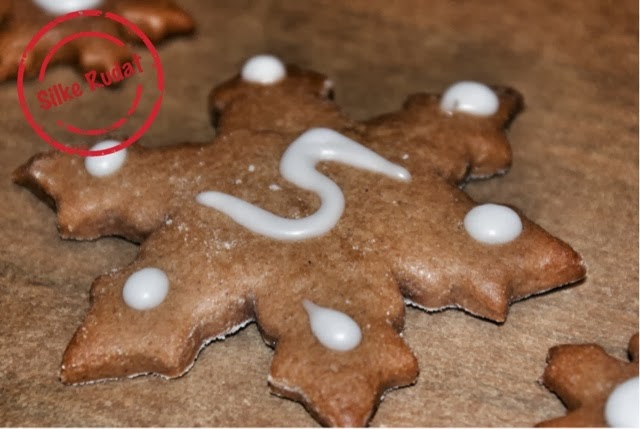
...if you choose a gingerbread dough, you can't do anything wrong...gingerbread cookies lasts long enough, you can easily stamp the cookies or you decorate them with icing.

you can find a very simply and really delicious recipe here

...it is meant for thermomixes, but if you are using any other strong blender, you shoud be fine, too.


Thursday, 21 November 2013

gorgeous spherical advent calendar

...and one more unique advent calendar...and this one is for myself...i just thought, after making quite a few for my family...i deserve one myself, too.

i always liked those clear plastic balls and never knew what to do with them...then i came across this beautiful advent calendar two years ago..and kept the link to get back to this gorgeous idea one day.

...and finally the day has come.

first i could not make up my mind how to hang this beauty and at the end i chose a round dry airer...gave it a little metall finish by spray painting it and it does not only save some space...it also looks really pretty.

...now just have to organise of a few sweet treats for myself...yummy...!!!


this is what you need


- fourty-eight clear plastic balls halves

- coloured paper napkins

- matching paper or gift tags

- circle stencil

- twenty-four metal clamps

- twenty-four eyelets

- eyelet tool

- scissors

- nylon thread or ornament hooks

- pen


this is what you have to do


- place the stencil onto you paper


- choose the right size of the circles


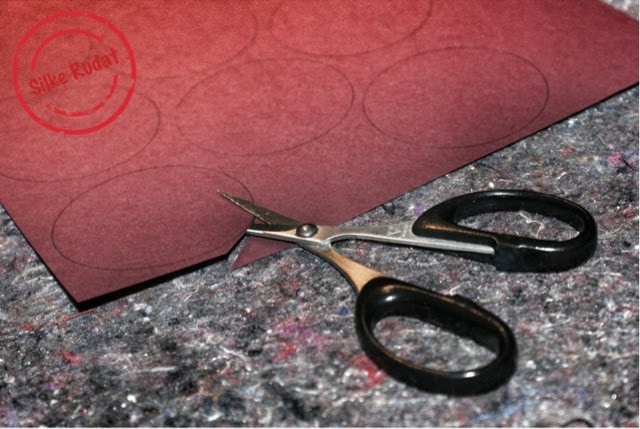
- draw twenty-four circles onto the paper


- use small scissors


- cut out your circle


 - set your twenty-four circles aside


- punch a hole in the upper part of the circle


- keep you eylet ready


- position it inside the hole


- place the paper onto the eylet tool


- squeeze the tool together


- and here we go...an eylet inside the paper


- twenty-four paper circles with eylets


- number the paper circles


- get your paper napkins ready


- unfold your napkin


- cut it into halves


- if you are using smaller balls, cut it into quarters


- separate all layers from your napkin...i used three ply napkins and smaller balls, so i only needed two napkins


- keep two half plastic balls ready


- place one layer of the napkin inside one half


- place your little gift inside the paper

- close the ball by adding the second half ball


- repeat with the remaining twenty-three balls


- attach the clamps to the peg airer


- insert the ornament hooks


- attach the numbered paper circles and plastic balls 


- vary the lengths by choosing hooks in different sizes or attaching one hook onto another


- if you wish you can add some decoration


I got inspired by raumdinge, where you can find a template for the numbers.