
i thought i could easily dip the bottom of my new wine glasses into the paint tin...drip the excess paint off...and ready...hahaha.
...the tin was too small to just dip the glass into it... the dripping off the excess paint took ages...and sitting the glasses onto wax paper left an ugly bottom of the bottom of the wine glasses.
what to do...???
giving up and just see how the two dipped glasses worked out at the end and pretending to prefer the handmade touch of the glasses...???
...or trying out to paint the bottoms of the two remainng glasses using a sponge.
so basically this post is more or less a "dipping versus sponging" contest.
...i can see all around the net that dipping the glasses works really well...just not with me.
nevertheless...here comes the tutorial...actually two tutorials...good luck and have fun.


this is what you need

- wine glasses
- chalk board paint
- swizzle stick
- chalk
- wax paper
- sponge
this is what you have to have to do

- stir your paint well

- now you are supposed to dip the bottom of your wine glass into your paint tin...ooops...it does not fit

- you can try to slightly skip the wineglass

- still does not fit...damn...argh#+}~£}~$,!{>]#\$~$,¥£%#...!!!

- if you are facing the same problem it is time to activate plan b...b for bowl

- choose a bowl which isn't too big and pour enough paint into the bowl to cover the bottom of the wine glass....you might not want to pour the paint only into the bowl...i messed it up as i looked through the lense to shoot the picture while pouring...bad luck.

- finally the dipping can start

- and then the dripping part...as i mentioned earlier...it took for ages

- at one stage (about half an hour) i could no longer hold the glass to wait for some more tiny drops of paint to come off..so i had to sit the glass onto wax paper

- after some time i changed the position of the glass to make it easier to dry...not that easy as there was still just too much paint on the glass

- i really thought it would never ever dry...so i had to activate plan c...changing my technique...i got my sponge ready

- and applied the first layer of paint

- and a second layer...

- and a third layer

- as you can see in the front row, the sponged bottoms are dry already whereas the dipped bottoms are still very wet

- will they ever dry...???

- here is a closer look of the sponged ones, the surface is quite uneven


- but the bottom of the bottom looks quite good

- here is a closer look of the dipped bottom, looks quite smooth
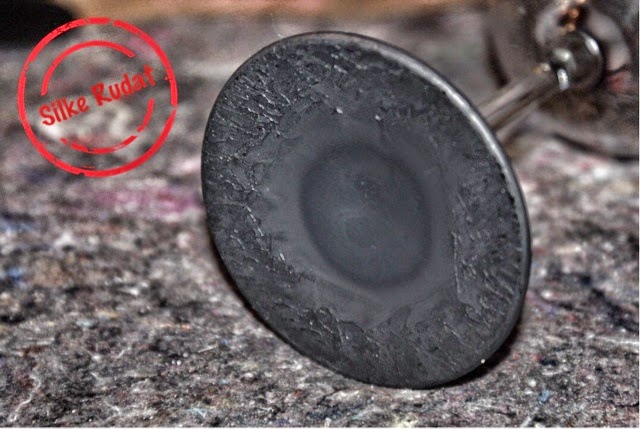
- but the bottom of the bottom...ugly...!!!

- and looking at a close-up, there is a huge bubble...i forgot to take a picture straight away, so this one was taken after the attempt to rescue the glass by applying a few more coats with a sponge

- the other wine glass seemed to look much better, but still shows some smaller bubbles

- i chose the wine glasses without any bubble to continue with the project

- the chalk painted surface has to be covered with chalk to ensure the first writing can be entirely removed

- i am not really if there would be a problem otherwise, but to be on the safe i followed the advise, if read somewhere

- the chalk has to be removed with a damp soft cloth

- after the bottom of the glass has been dried, you can start painting on the chalk paint


- and that's it...a handy alternative to wine charms

i really hope you will be way more successful than me...thanks for stopping by and best regards...silke
p.s.
this is what i did with the other two glasses

- i just covered the entire wine glass with the chalkboard paint, using the sponge


- and then i simply glued a plastic flower onto the stand of the wine glass to cover the big ugly bubble

- it is now for decoration only, but i guess it will make a nice little something for other nice little somethings.