Showing posts with label ...in love with papercraft. Show all posts

Tuesday, 31 October 2017

poesie album 2.0 challenge

the makeover of the original autograph books (we call it poesie album) is done, so why not re-establishing this wonderful tradition.

it seems to be really challenging, as our busy lives are taking place in different cities or even countries, so i had to come up with a more up to date version.


the "poesie album 2.0".


i requested my friends to share their poems, their quotes, their drawings, their scrap book ideas, their photos or any other memories they wanted to share by folded filling a DIN A 4 paper filled with and to either post it or e-mail them  to me and they will be bound into a modern version of the traditional poesie album.

the real challenge is to make the poesie album alive and this won't be possible without the contribution of all the dear people, who are willing to spend their time and effort to make it work.

to be an active social media user with a large network would be helpful at the stage 1 (making your project public), but a personal request directed to those you wish to participate in your challenge is crucial to turn this project into a personal memory.

as one of my colleagues volunteered straight away to put the beta version of the poesie album 2.0 in circulation at work, i thought i am trying to get my friends involved to spread the word around.

i'll keep my fingers crossed and keep you posted.


Monday, 21 November 2016

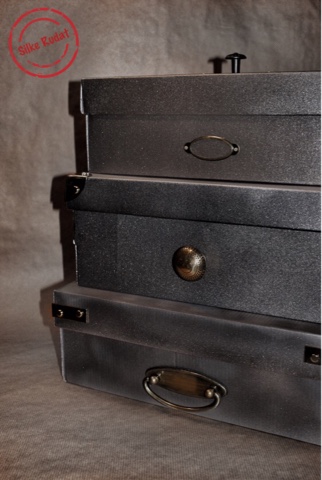
shoe boxes into treasure boxes

shoe boxes are are just beautiful little things...first the contain the real treasures...beautiful shoes...and then they can turned into beautiful storages to keep other treasures in place.

these treasure boxes look great in any places around the house and can be easily adjusted to match the colour and style of every room.

...they can also be used as a fancy and sustainable gift wrapping alternative.

as you can see... i gathered nearly all of my supply from hardware stores...again...but i am sure a lot of more filigran supply could be found in craft stores.

luckily i just bought a couple of ankle boots and now a new batch of shoe boxes are on hand for some more treasure boxes or suitcases to come.


http://silkerudat.blogspot.de/2013/06/vintage-suitcase-boxes.html


this is what you need


- shoe boxes

- spray paint

- screwdriver

- brass door knobs

- brass drawer handles

- brass screws

- brass trunk corners

- twist gimlet

- brass fastener

- brass frame

- brass corner brasses


this is what you could do with the first shoe box


- spray paint the first shoe box


- get the twist gimlet, the brass frame, one of the door knobs and brass screws ready


- place the bottom piece of the door knob onto the cover of the shoe box


- mark the point where the screw needs to be placed


- pierce a hole with the twist gimlet 


- three holes were needed in my case


- attach the door knob


- get the brass frame and two more screws ready


- place the brass frame onto the front of the shoe box


- mark the holes


- pierce the holes


- attach the frame


- the first shoe box is turned into a beautiful storage


this is what you could do with a second shoe box


- you would need brass fastener,  a drawer handle, screws, screw driver, twist gimlet and corner braces


- place one corner brace on each front corner of the lid of the shoe box


- to ensure a proper closing of the box, use brass fastener instead of screws


- attach a drawer handle to the front of the shoe box


this is what you could do with a third shoe box


- you would need two trunk corners, brass fasteners, a door knob, twist gimlet, screw driver


 - place one trunk corners on each of the front corners


- to ensure a proper closing of the box, use brass fastener instead of screws


 - attach the door knob to the front of the shoe box


i hope you have enjoyed the idea of the shoe box make over and the tutorial...thank you very much for stopping by...best regards...silke


Tuesday, 28 June 2016

address book leporello

...and finally the traditonal leporello.

the one i was planning to make before i got inspired by the envelope acordion book, i made erlier this month.

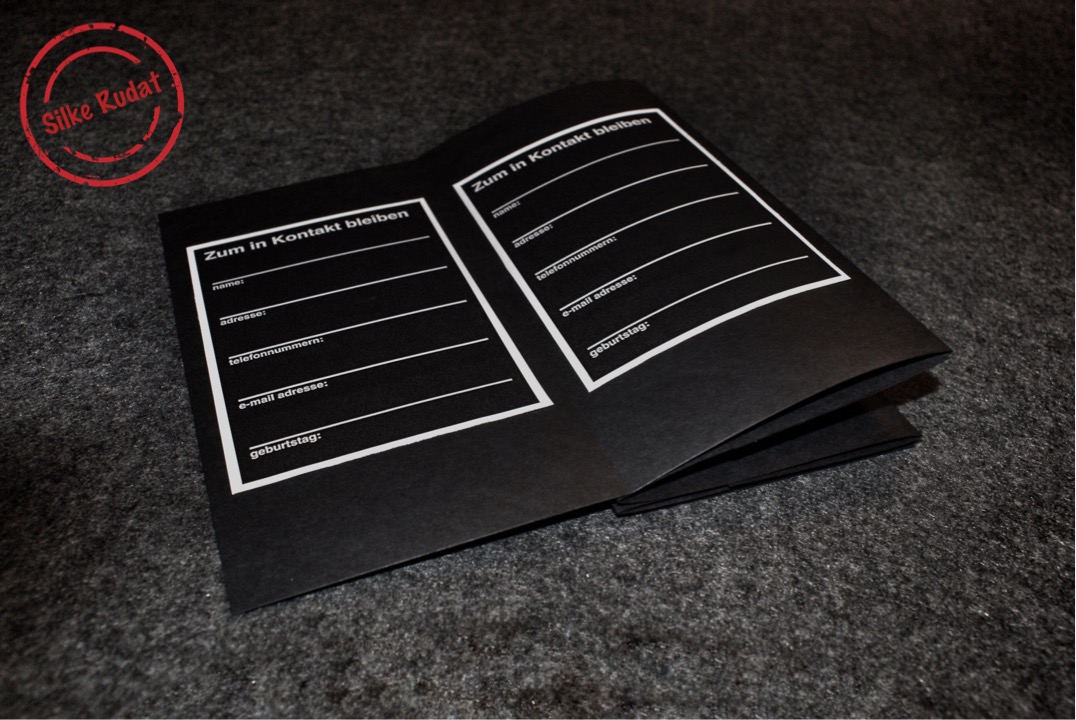
there are so many occasions and purposes for the use of a leporello...i thought i use it for an address book...a special address book.

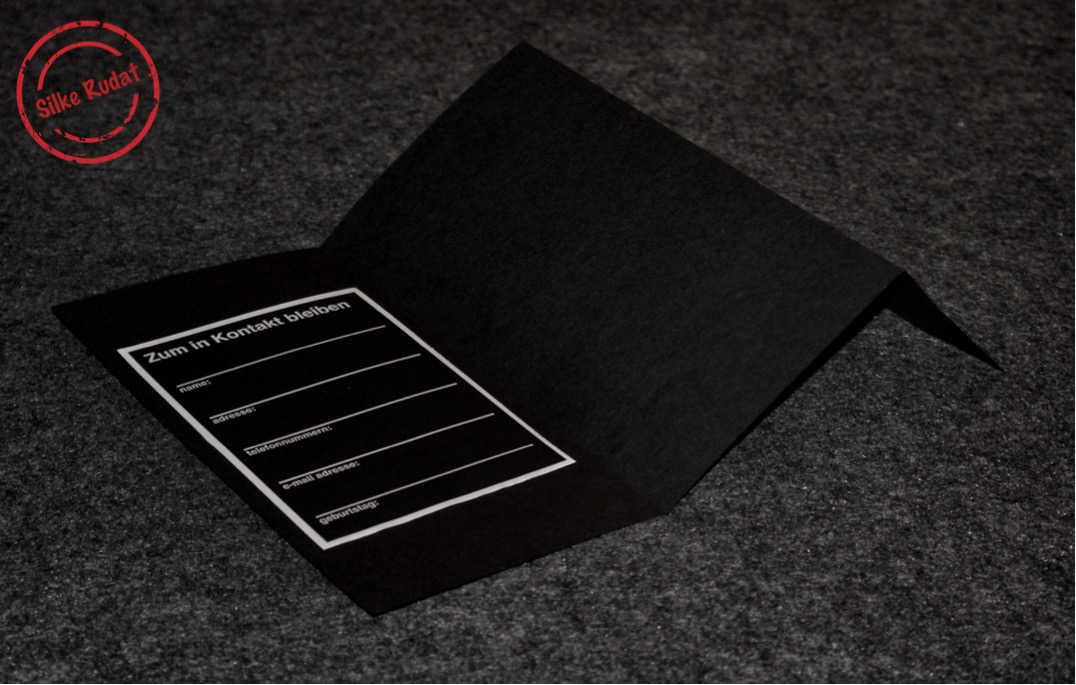
at my last birthday party, i tried to bring some old friends together, who haven't seen each other for ages and created an address book for my friends to ensure they'll be able to stay in touch with each other.

...i let my friends not only sign a guest book, but also make them leave their addresses with me, so i could later on create the personalized address book, which i could hand over to my friends on our next get-together.

i think it is a great idea, but only of many others.


this is what you need


- din A4 cardboard

- address book pages

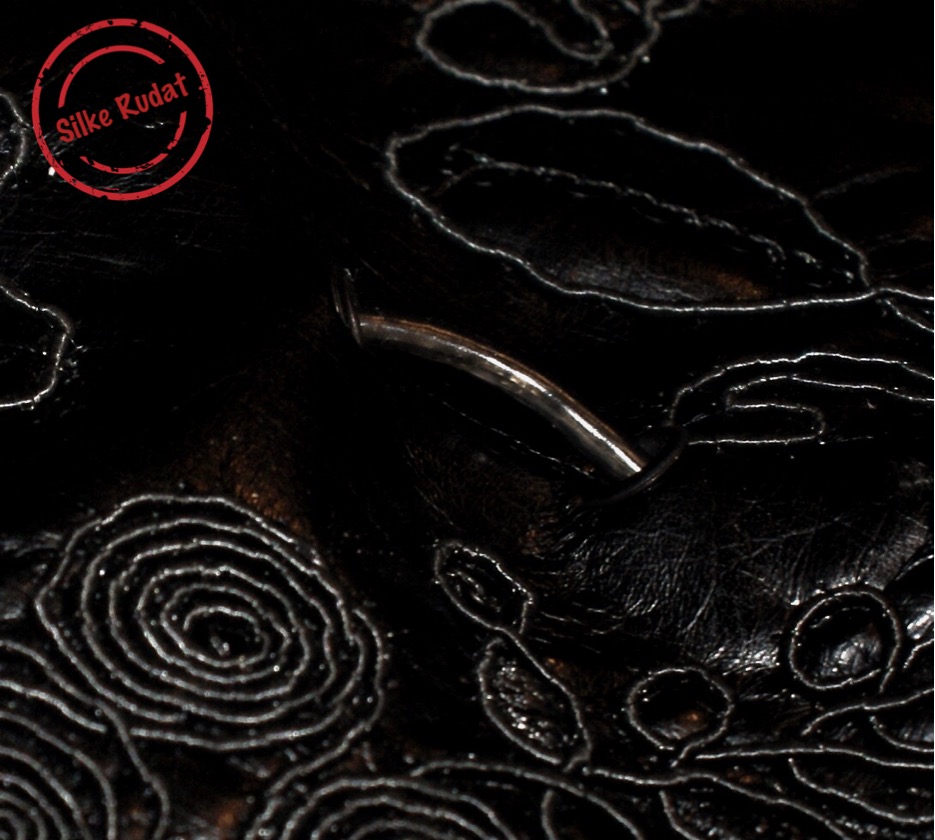
- laux leather and sequins fabric leftover

- two eyelets 

- scissors

- glue

- clothesline or ribbon


this is what you have to do


- place on of the address pages onto the left side of the first cardboard


- fold the cardboard twice, two times in the size slightly larger than the book page and one which can be much smaller


- repeat with all other cardboards


- apply some glue onto the smaller part of the folded cardboard


- adhere the folded cardboards together in an accordion style


-get your book pages and the glue ready


- apply glue onto the backside of the pages


- adhere one address bookpages onto every leporello page


- it will look like this


- get your pre-cut cardboards ready


- glue them onto the first and last page of the leporello, building the book cover


- get your fabric and scissors ready


- you will also need your cardboards and your glue


- place the cardboard onto the fabric


- cut out two pieces, large enough to fold the fabric over the cardboard


- apply glue to the cardboards


- press firmly onto the fabric


- cut back the corners of the fabric


- apply glue to the edges of the fabric


- fold them over and press firmly on the the cardboard


- get the leporello ready


- get your glue ready as well


- apply glue to the backside cover of the leporello


- press the fabric covered cardboard firmly onto the cover


- get the second piece of fabric and the eyelet pack ready


- mark two spots, where you want to have your eyelets


- insert the eyelets according to the instructions of the eyelet pack


- insert the clothesline or ribbon through the eyelets


- apply a lot of glue to the backside of the leporello


- press the fabric firmly onto the cardboard


- that's it


- close the leporello by wrapping the clothesline around the leporello


i hope you enjoyed the tutorial...thank you very much for stopping by...best regards...silke